Small ish update. I have to work during the evenings to keep this build going so pictures won’t be of any great quality. Unfortunately my usual 9 to 5 job is keeping me busy more than I would have liked. Few things have been done since last update, here is the list:
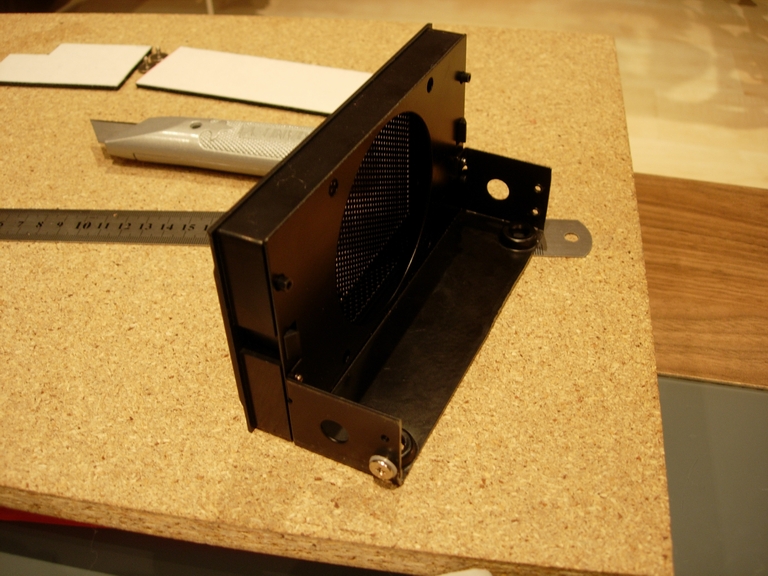
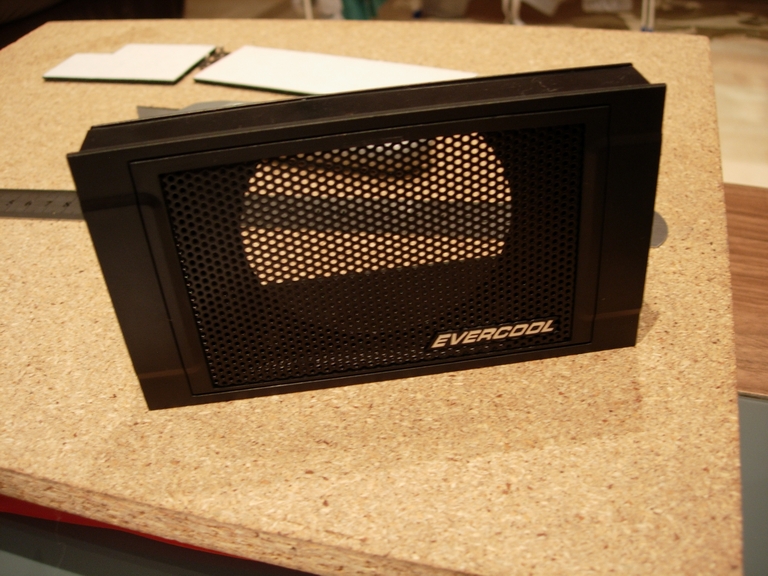
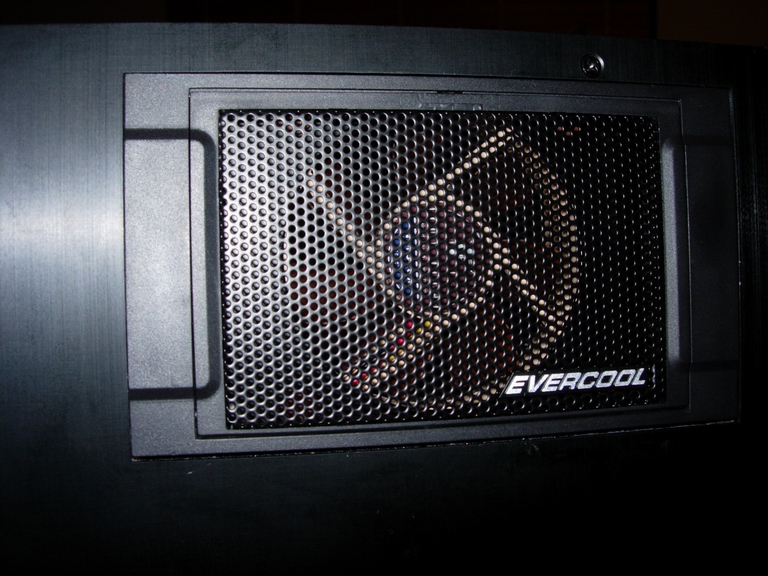
Evercool Armour has been chopped as I mentioned in my first update – here is what it looks like now:
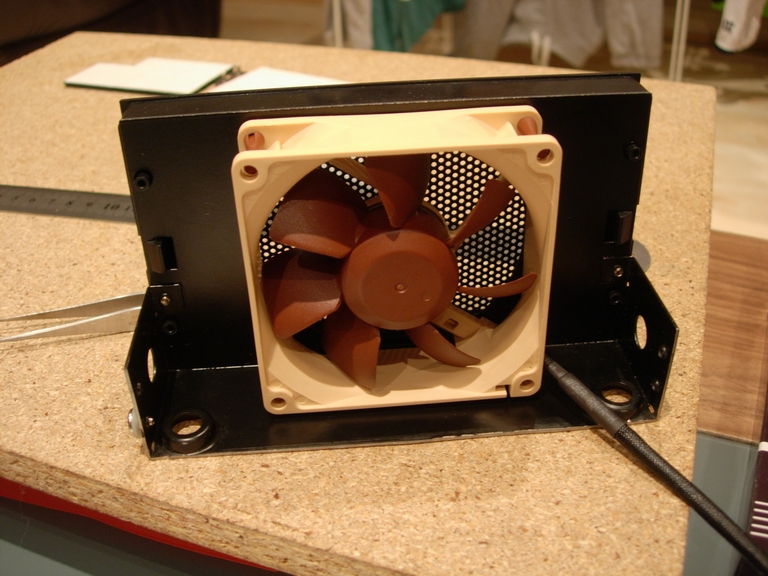
Noctua NF-R8-1800 fan fitted:
Looking alright I think. I’m still waiting for 80mm fan guard (ordered) to keep wires out of the way.
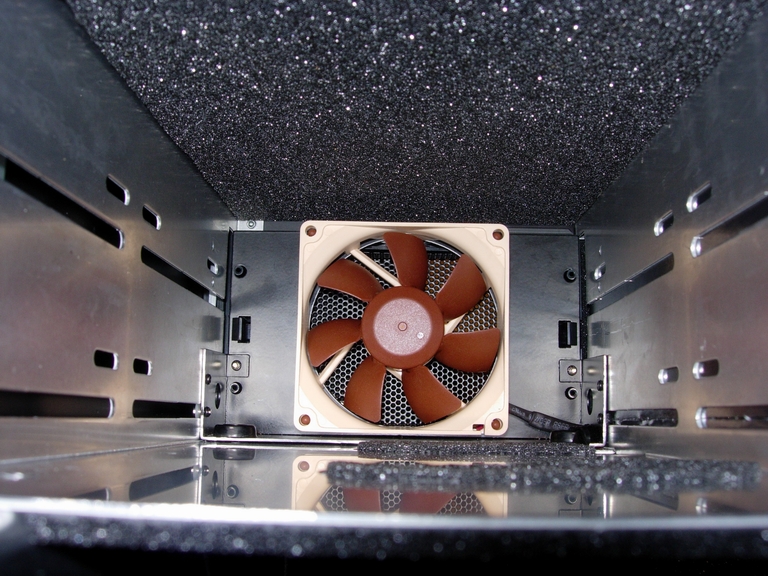
Here is how the whole thing inside from inside the case:
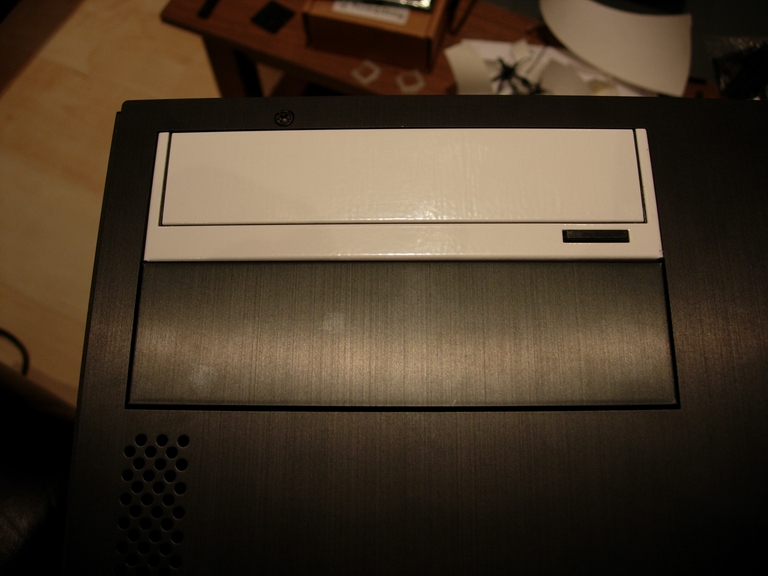
5.25″ drive bay external view:
It should be enough to extract any trapped hot air generated by my hard drives. I think.
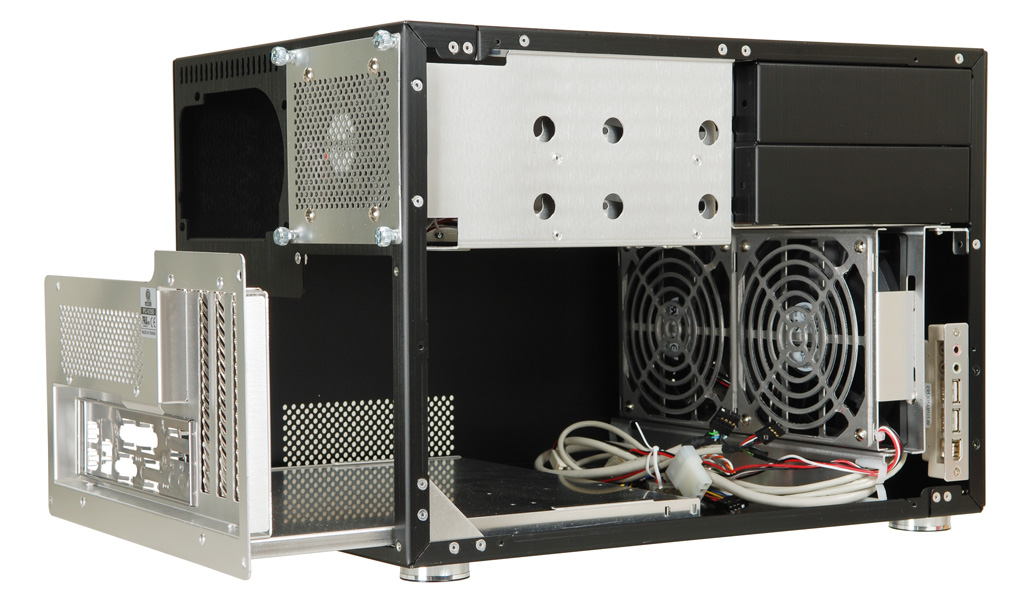
In stock V350 there is space for two 120mm fans at the front of the case:
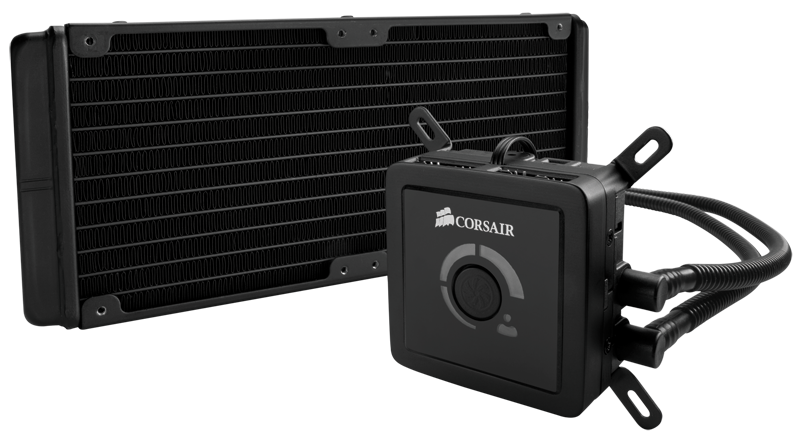
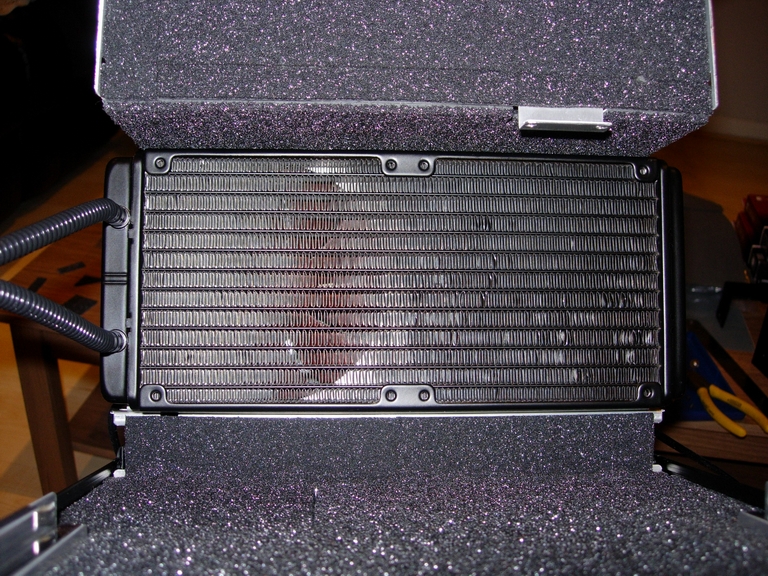
My idea of utilizing this space is to fit Corsair H100 all-in-one water cooling unit AND the 120mm fans. For those unfamiliar, Corsair H100 has 240 radiator:
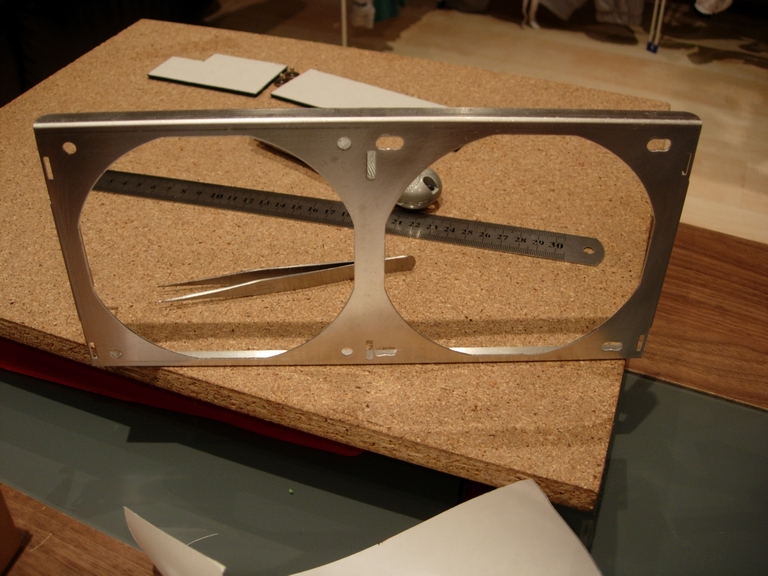
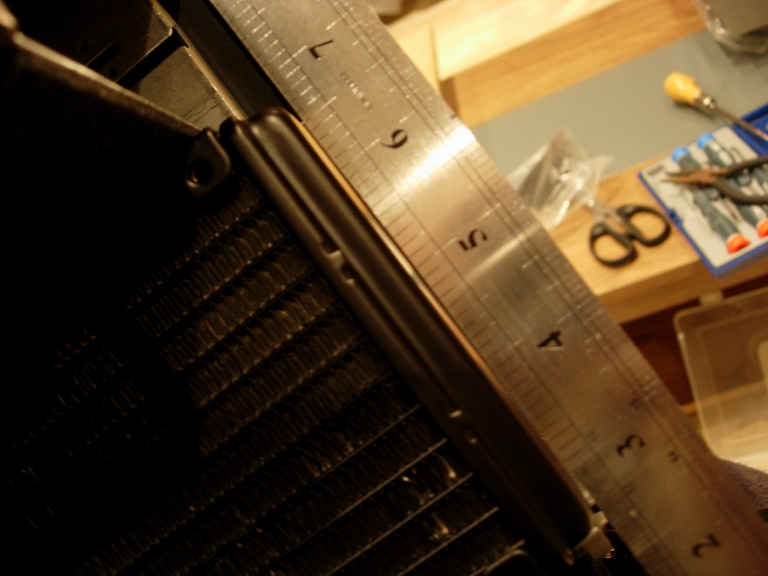
Bracket originally holding just fans needed attention to make this happen as mounting holes on Corsair H100 only lined up on the first 120mm fan (left). Holes on the right didn’t lined up at all so I had to widen them a bit:
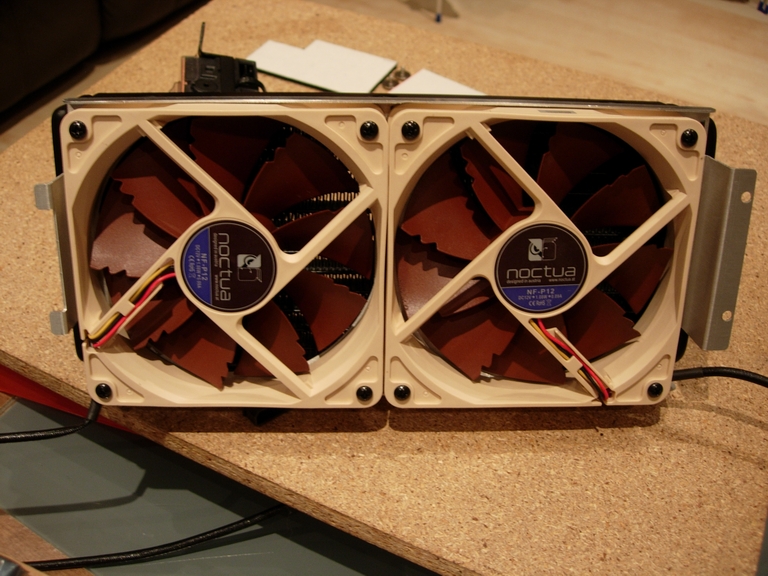
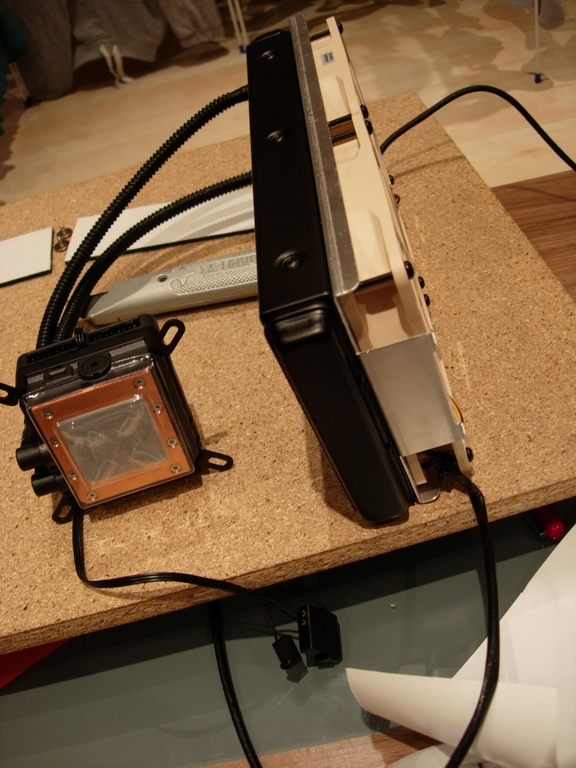
Bracket, two Noctua NF-P12 120mm fans and the H100 all screwed together as one unit:
It fits pretty well. Now, will it fit inside the V350? Answer is – yes it will!
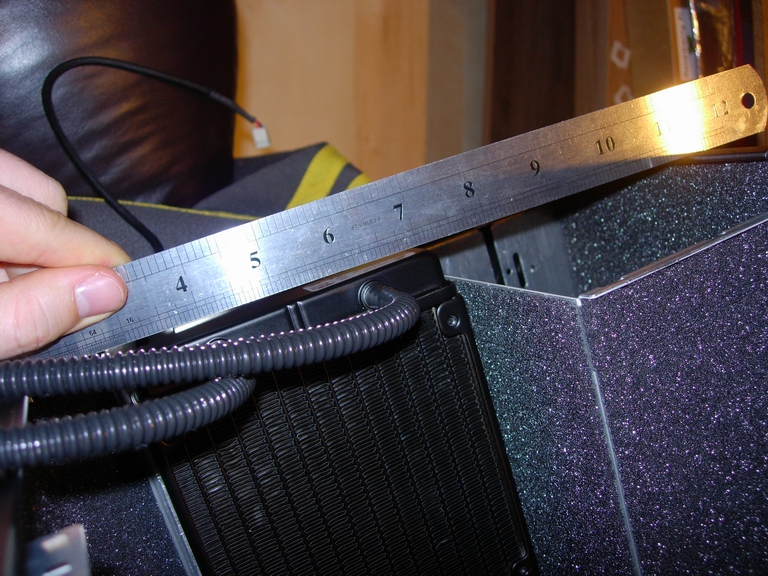
I have to say though, its an extremely tight fit – space left on both left and right hand side is just enough to close the case together:
Sweet.
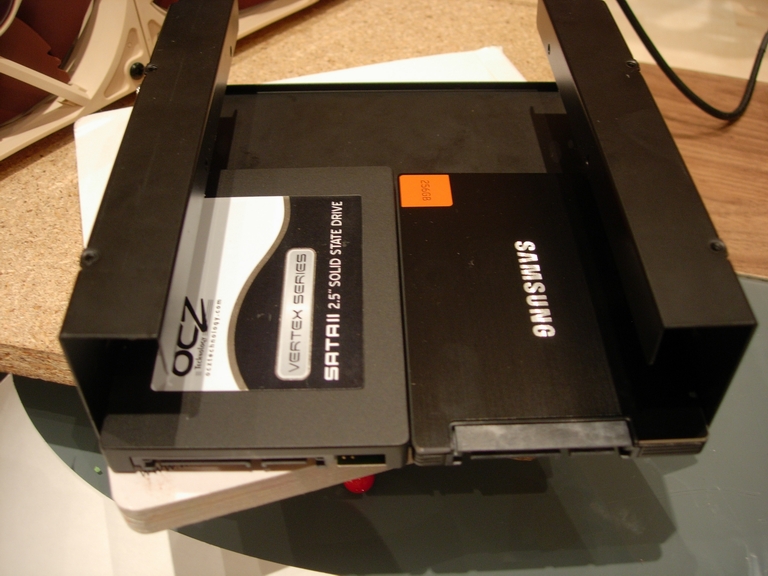
Silverstone bracket to hold my two SSDs and 2TB drive was next – SSDs in place:
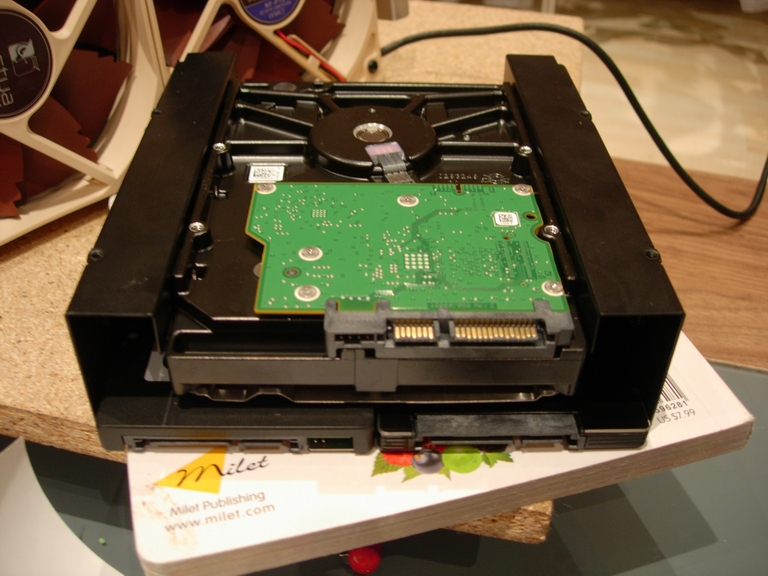
2TB hard drive temporarily mounted upside down:
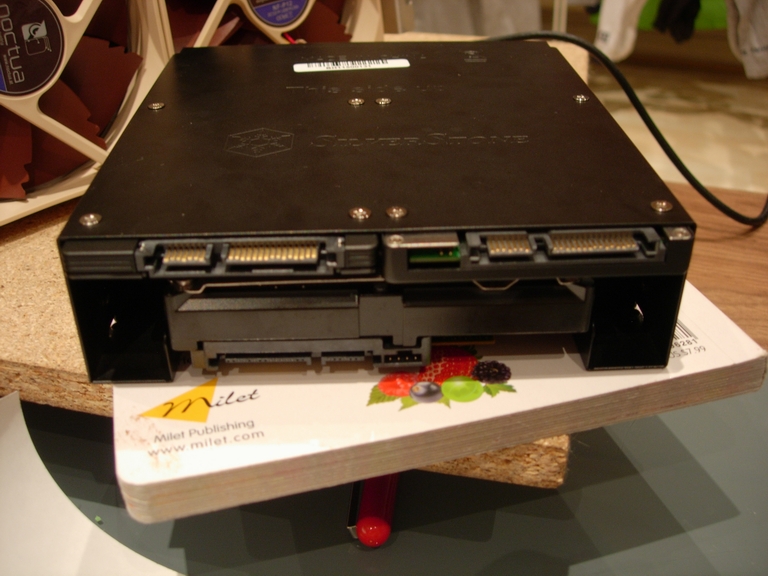
And the whole bracket “correct” way around:
I have decided to use the Lian-Li 5.25″ solid bezel that came with the case and not to expose front of the Silverstone bracket as the finish didn’t really match up. Optical drive got some attention as well, I had the stealth Lian-Li bezel for ages now so it was perfect time to use it! 5.25″ external view once the bracket and bezels was mounted:
That’s it for now. More in a day or two…
Project Update #3
Project Update #4
Project Update #5
Project Update #6
Project Update #7
FINAL UPDATE

Any update on the IBM ServeRAID M1015 write performance? Thanks
Hey Oliver, what exactly are you interested in with regards to write performance? I did flash my M1015 (which essentially is LSI 9240-8i) to LSI 9211-8i in IT mode which gives me straight pass-through for all connected devices (no need for VD aka Virtual Disks etc.) Obviously I don’t have BBU (battery backup unit) on my IBM/LSI card so write performance will never be as good.
I will be updating this post very soon with ton of info about the build so stick around!
Updates #3 to #7 are online now, enjoy!